
Quick answer: The easiest way into astrophotography is a camera you already own, a wide or short-telephoto lens, and a small star tracker. Shoot many 30–120 second exposures of a bright target such as the Milky Way core, the Orion Nebula or the Andromeda Galaxy, add a set of calibration frames, then stack everything in free software like Siril or DeepSkyStacker. Spend your first big upgrade on the mount, not the telescope, because tracking accuracy limits every image you take.
As an Amazon Associate, Midwest Astronomy earns from qualifying purchases.
Astrophotography has a reputation for being expensive and complicated, and at the top end it is. But the path in is gentler than it looks if you take it one layer at a time. This guide walks through the three ways people get started, what to buy at each budget tier, the settings that actually work, and the workflow that turns a folder of noisy frames into an image you want to print.
The three paths into astrophotography
Almost every rig falls into one of three families. Knowing which one you are building toward keeps you from buying parts that do not fit together later.
1. Camera and lens on a tripod (no tracking)
A fixed tripod and a fast wide-angle lens can capture the Milky Way, star trails, aurora and nightscapes. Because the sky moves, exposures are limited to a few seconds before stars streak. This is the cheapest way to learn manual exposure and focusing in the dark, and it is how many people discover they are hooked.
2. Camera and lens on a star tracker
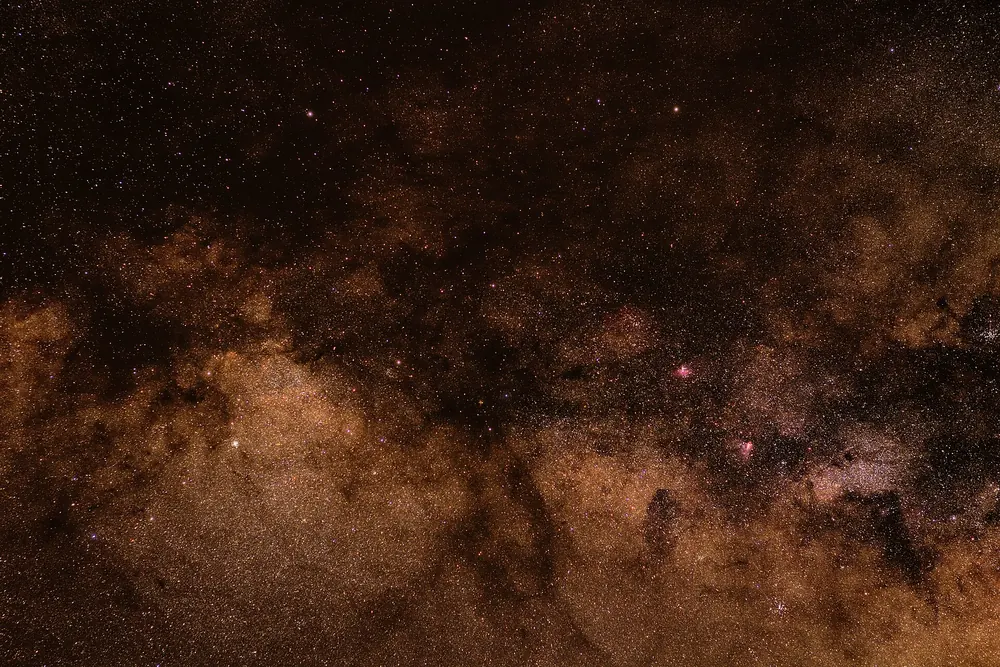
A star tracker is a small motorized mount that rotates your camera at the same rate the sky turns. Once it is polar aligned, you can expose for one to three minutes with a 50–200mm lens and keep stars round. This opens up wide-field deep-sky targets: the Orion region, the Andromeda Galaxy, the North America Nebula and the summer Milky Way clouds.
3. Telescope on an equatorial (EQ) mount
A German equatorial mount carries a small telescope, a camera and usually a guiding system. This is where long-focal-length galaxies, planetary nebulae and narrowband imaging live. It is also where cost, weight and complexity go up quickly, which is why it is rarely the best first step.
A fourth option has appeared in the last few years: all-in-one smart telescopes such as the ZWO Seestar S50 and DWARF 3. They combine a small lens, camera, mount and live-stacking software in one box controlled from a phone. They are a legitimate way to start, especially from light-polluted backyards, though you trade away the flexibility of choosing your own optics and camera.
Astrophotography gear by budget tier
We use budget tiers instead of prices because prices move constantly. Each tier assumes you already have a sturdy photo tripod and a computer for processing.
| Tier | Core gear | What it can shoot | Main limitation |
|---|---|---|---|
| Entry | DSLR or mirrorless body, fast wide lens, sturdy tripod | Milky Way, nightscapes, star trails, constellations | Exposures of a few seconds only |
| Starter tracking | Add a star tracker (Star Adventurer GTi or SkyGuider Pro) and a 50–200mm lens | Large nebulae, Andromeda, Milky Way star clouds | Payload and focal length are limited |
| Small refractor | Add an EQ mount (HEQ5 class or AM5 class), a 50–80mm apochromatic refractor, a guide scope and guide camera | Most bright nebulae and larger galaxies | More setup time, needs power and a laptop or controller |
| Dedicated imaging rig | Heavier mount (EQ6-R class), cooled astro camera, filters, electronic focuser | Small galaxies, narrowband, long integrations | Cost, weight and a steep learning curve |
Entry tier: camera, lens and tripod
Any interchangeable-lens camera with manual mode and RAW files will work. Pair it with a fast wide lens (f/2.8 or faster at 14–24mm is ideal) and a tripod that does not shake in the wind. A remote shutter release or intervalometer helps, though most modern cameras have one built in.
What to learn here: manual focus on a bright star using live view magnified to the maximum, shooting RAW, and judging exposure from the histogram rather than the back-of-camera preview.
Starter tracking tier: add a star tracker
This is the single most important upgrade for a beginner. Good options include:
- Sky-Watcher Star Adventurer GTi: a compact equatorial mount with GoTo, Wi-Fi app control, an illuminated polar scope, an ST-4 autoguider port and an 11-pound payload rating according to Sky-Watcher.
- iOptron SkyGuider Pro: a popular tracker with a built-in battery and illuminated polar scope, often sold with a ball head and counterweight kit.
- Sky-Watcher Star Adventurer 2i: a simpler tracking-only sibling of the GTi.
Pair the tracker with a lens in the 35–135mm range. A fast prime such as the Rokinon 135mm f/2 is a favorite for wide-field nebulae because it is sharp across the frame and long enough to frame targets like the Orion and Cygnus regions. Remember that published payload numbers are maximums; for sharp long exposures, stay well under them.
Small refractor tier: the first “real” imaging rig
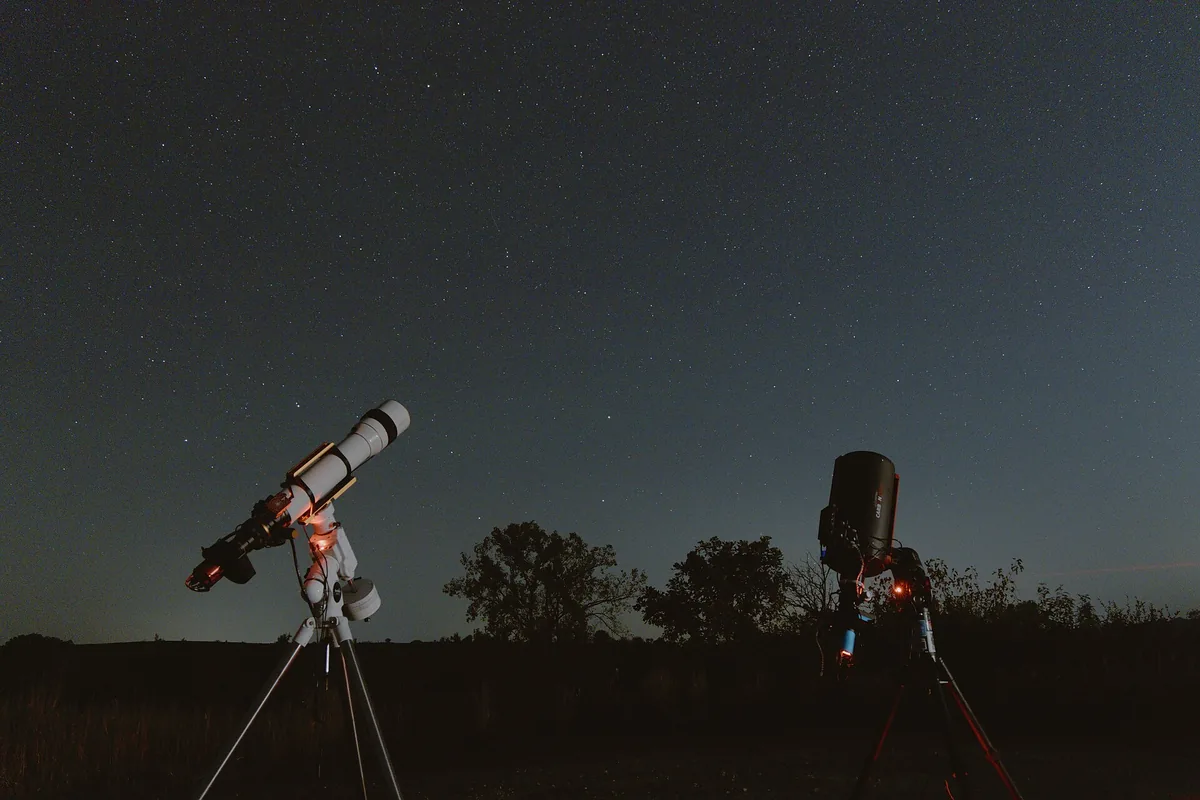
When you want more reach, the next step is a short apochromatic refractor on a proper equatorial mount. Refractors are forgiving: no collimation, no cooldown worries compared with large reflectors, and they work well at short focal lengths that hide small tracking errors.
Common choices:
- Telescope: William Optics RedCat 51 (a 250mm f/4.9 Petzval design with a flat field built in) or the Sky-Watcher Evostar 72ED with a matching field flattener.
- Mount: Sky-Watcher HEQ5 Pro (rated for 30 pounds), the strain-wave ZWO AM5, or the iOptron CEM26.
- Guiding: a 30mm guide scope such as the Svbony SV165 with a small guide camera like the ZWO ASI120MM Mini, run by the free PHD2 software.
A simple rule of thumb: budget at least as much for the mount as for the telescope. A good mount carrying a modest refractor beats a premium telescope on a mount that cannot track it.
Dedicated imaging tier
At this level people add a cooled astronomy camera such as the ZWO ASI2600MC Pro or ZWO ASI533MC Pro, a heavier mount such as the Sky-Watcher EQ6-R Pro (44-pound payload rating), an electronic focuser and a capture controller. We compare these cameras against DSLRs and mirrorless bodies in our dedicated astro camera vs DSLR guide.
Camera settings that work
These are starting points, not laws. Your sky brightness and equipment will move them.
Untracked Milky Way and nightscapes
- Mode: manual, RAW
- Aperture: wide open or one stop down if corners are soft
- Exposure: use the NPF rule (more accurate than the old “500 rule” on modern high-resolution sensors) or start around 10–20 seconds at 14–20mm and check stars at 100%
- ISO: 1600–6400 depending on the camera; check the histogram so the sky peak sits clear of the left edge
- Focus: manual, on a bright star with live view magnified
- White balance: a fixed value such as 3800–4500K so every frame matches; you can change it later because you shot RAW
Tracked deep sky with a camera
- Exposure: 30–180 seconds, limited by your tracker accuracy and how bright your sky is
- ISO: your camera’s “sweet spot,” usually around 800–1600 on modern sensors; there is little benefit to going higher on a tracked sub
- Number of frames: more is always better. Aim for at least an hour of total integration on a target, and treat three or more hours as the point where faint detail really starts to appear
- Dithering: if your tracker or capture software supports it, shift the framing slightly between exposures. It breaks up the fixed-pattern noise that otherwise shows up as streaks in the final stack
Calibration frames in one minute
Calibration frames remove problems that are baked into every light frame. You need them for clean results:
- Darks: same exposure, ISO or gain, and temperature as your lights, with the lens or telescope covered. They remove thermal signal and hot pixels.
- Flats: evenly illuminated frames shot without changing focus or camera rotation. They correct vignetting and dust shadows (“dust donuts”).
- Bias or dark flats: very short frames (bias) or darks matched to your flat exposure (dark flats). They remove the camera’s read-out offset from your flats.
For a deeper walk-through of how stacking programs use these, see our stacking software comparison and Siril tutorial.
Choosing your first targets
Start with targets that are big, bright and well placed. Shooting near the meridian (when a target is highest) means less atmosphere and less light pollution in the way.
| Season (Northern Hemisphere) | Target | Good focal length range | Why it works for beginners |
|---|---|---|---|
| Winter | Orion Nebula (M42) | 135–600mm | Extremely bright; shows color in short subs |
| Winter | Pleiades (M45) | 135–400mm | Bright stars and blue reflection nebula |
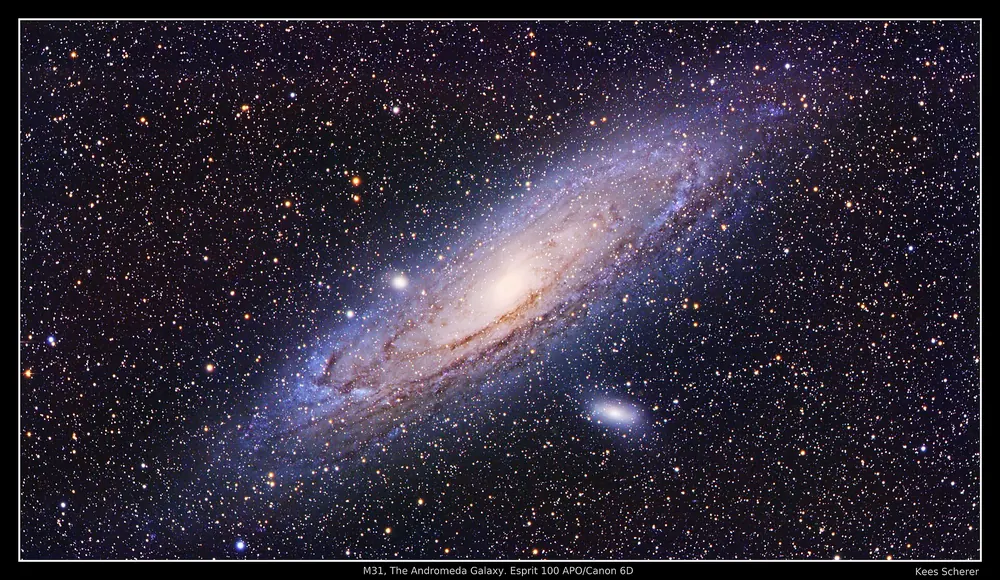
| Autumn | Andromeda Galaxy (M31) | 135–500mm | Large and bright; fits small refractors well |
| Summer | Milky Way core (Sagittarius) | 14–50mm | Spectacular even untracked from dark sites |
| Summer | North America Nebula (NGC 7000) | 135–400mm | Huge; responds well to dual-band filters |
| Spring | Leo Triplet or M81/M82 | 400–800mm | A good first step toward galaxy imaging |
Light pollution and the Bortle scale
The Bortle scale rates sky darkness from 1 (pristine) to 9 (inner city). Much of the Midwest outside major metros sits somewhere in the middle of that range, and even small towns throw domes of skyglow that show up in long exposures. Check a light pollution map such as lightpollutionmap.info before you pick a site, and look at forecasts built for astronomers (cloud cover, transparency and seeing) rather than a general weather app.
You can still image from bright skies. Broadband galaxies suffer most, while emission nebulae respond well to narrowband or dual-band filters like the Optolong L-eXtreme. The Veil Nebula image in our first monochrome camera post was captured with narrowband filters under Bortle 7 skies in northwest Iowa, which shows how far filters and long integration can take you from a bright-sky site.
Cold-weather and humidity realities
Two practical issues catch Midwestern beginners off guard:
- Cold: batteries lose capacity fast below freezing. Keep spares warm in an inside pocket, and consider an external power source for the mount. Lubricants stiffen too, so give the mount a few minutes to settle before polar aligning.
- Dew and frost: humid summer nights and clear winter nights both coat optics. A dew heater strap around the lens or objective is cheap insurance. When you bring cold gear back inside, leave it in a closed bag or case until it warms up so condensation forms on the bag instead of the optics.
Our astrophotography troubleshooting guide covers dew, gradients and other common problems in more depth.
Your first night, step by step
- Set up before dark. Level the tripod, attach the tracker or mount and balance the camera or telescope.
- Polar align. This is the step that makes or breaks tracked images. Follow our step-by-step polar alignment tutorial.
- Focus. Use a bright star and live view at maximum magnification, or a Bahtinov mask for telescopes.
- Frame the target. Take a short, high-ISO test exposure to check composition.
- Run a test sub. Shoot one frame at your planned exposure and zoom in on the corners. Round stars mean you can start the sequence.
- Shoot lights, then darks (same settings, lens covered) at the end of the session.
- Shoot flats before you touch focus or rotate the camera.
- Back up the data before you go to bed.
Processing your first image
Processing is half of astrophotography. The basic flow is the same in every program:
- Calibrate and stack the lights with darks, flats and bias or dark flats.
- Crop the ragged stacking edges.
- Remove gradients left by light pollution and the moon.
- Color calibrate so stars and galaxies show natural color.
- Stretch the linear data to reveal faint detail.
- Reduce noise and adjust color and contrast gently.
Free tools are excellent for this. Siril can do the entire workflow, and DeepSkyStacker is a simple stacker for Windows, macOS and Linux. Our stacking software comparison explains which to choose and walks through a complete Siril session.
Mistakes to avoid
- Buying a long telescope first. A 1,000mm+ focal length magnifies every tracking error. Start short.
- Overloading the mount. Stay comfortably below the rated payload for imaging.
- Too little data. Ten frames will not beat noise. Hours of integration will.
- Over-processing. Crushed black backgrounds, bloated stars and oversaturated color are the most common giveaways of a beginner edit.
- Skipping flats. Dust and vignetting are almost impossible to fix cleanly after the fact.
Frequently asked questions
Start with a camera you already own, a wide or short-telephoto lens and a sturdy tripod to learn manual focus and exposure. Then add a small star tracker such as the Sky-Watcher Star Adventurer GTi or iOptron SkyGuider Pro, which allows one-to-three-minute exposures and opens up wide-field nebulae and galaxies.
No. Many impressive images of the Milky Way, Andromeda Galaxy and large nebulae are taken with ordinary camera lenses between 14mm and 200mm. A telescope becomes useful once you want to photograph smaller galaxies and nebulae.
The mount. Tracking accuracy limits every image, and a capable mount will carry several generations of cameras and telescopes. A good rule is to budget at least as much for the mount as for the telescope.
Untracked wide-angle shots are usually limited to roughly 10–20 seconds; use the NPF rule for your lens and camera. On a star tracker, start with 30–120 second subs and increase only if stars stay round. Total integration time matters more than any single exposure.
Yes. Emission nebulae can be captured from bright skies with narrowband or dual-band filters, and smart telescopes and short exposures stacked in software help a lot. Broadband targets like galaxies are harder and benefit most from darker sites.
Siril is free, open source and handles calibration, stacking, gradient removal, color calibration and stretching in one program. DeepSkyStacker is a simpler free stacker now available for Windows, macOS and Linux.