
Quick answer: To polar align, point your mount’s right ascension (RA) axis at the celestial pole. Level the tripod, set the mount’s altitude scale to your latitude, aim roughly north, then refine with one of three methods: a polar scope (place Polaris at the position an app shows on the reticle), a plate-solving routine (SharpCap Pro, N.I.N.A. Three Point Polar Alignment or ASIAIR), or drift alignment. Star trackers with wide lenses can tolerate a few arcminutes of error; guided telescope imaging should aim for a few arcminutes or better, and long focal lengths benefit from about one arcminute.
As an Amazon Associate, Midwest Astronomy earns from qualifying purchases.
Polar alignment is the step that decides whether your stars come out round or as little dashes. It is also the step beginners find most mysterious. This tutorial explains what you are actually doing, then walks through the methods for both star trackers and full equatorial (EQ) mounts.
What polar alignment actually means
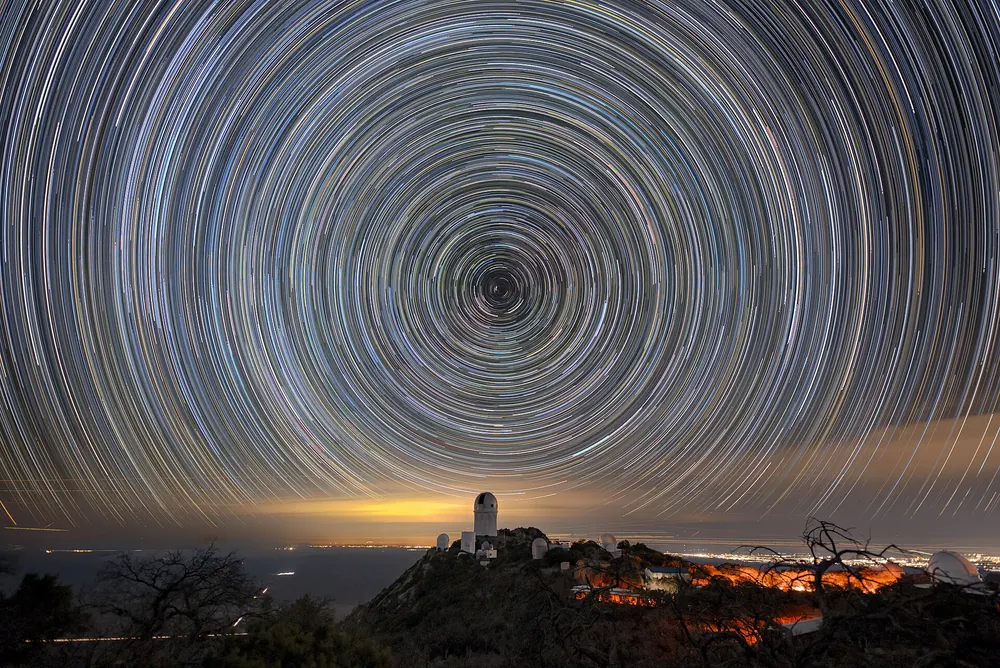
The sky appears to rotate around two points: the north celestial pole (NCP) and the south celestial pole. An equatorial mount or star tracker has one motorized axis, the RA axis, that turns once per sidereal day (about 23 hours 56 minutes). If that axis points exactly at the celestial pole, a single motor can follow every star across the sky.
If the axis is off, stars slowly drift in declination during each exposure. Autoguiding can correct some of that, but it cannot fix field rotation, which twists the frame around the guide star and smears stars at the edges in long sessions.
Two facts make northern-hemisphere alignment easier:
- The altitude of the celestial pole above your horizon equals your latitude. Across the Midwest that is roughly 37° to 49° north, so a mount in central Iowa sits around 42°.
- Polaris is close to the pole, but not on it. It is currently about two-thirds of a degree away, which is why you cannot simply point the mount at Polaris.
In the southern hemisphere the faint star Sigma Octantis marks the south celestial pole, and plate-solving methods are usually easier than a polar scope.
Before you start: setup that makes alignment stick
Most polar alignment problems are really setup problems.
- Use a solid base. Spread the tripod legs fully. On soft ground or snow, use pads or boards so the legs do not sink.
- Level the tripod with a bubble level. Leveling is not strictly required for accurate alignment, but it keeps the altitude and azimuth adjustments independent and makes GoTo alignment better.
- Face north. Use a compass app corrected for magnetic declination (NOAA publishes a declination calculator), or simply sight Polaris.
- Set latitude on the altitude scale. The scale is often only approximate, so treat it as a starting point.
- Load and balance the mount first if your polar scope or alignment camera allows it. Adding several pounds of camera and counterweight after aligning can shift the tripod or wedge.
- Let it settle. In cold weather, grease stiffens and metal contracts. Give the mount a few minutes outside before fine adjustments, and re-check after the first half hour.
Method 1: Polar scope alignment (star trackers and most EQ mounts)
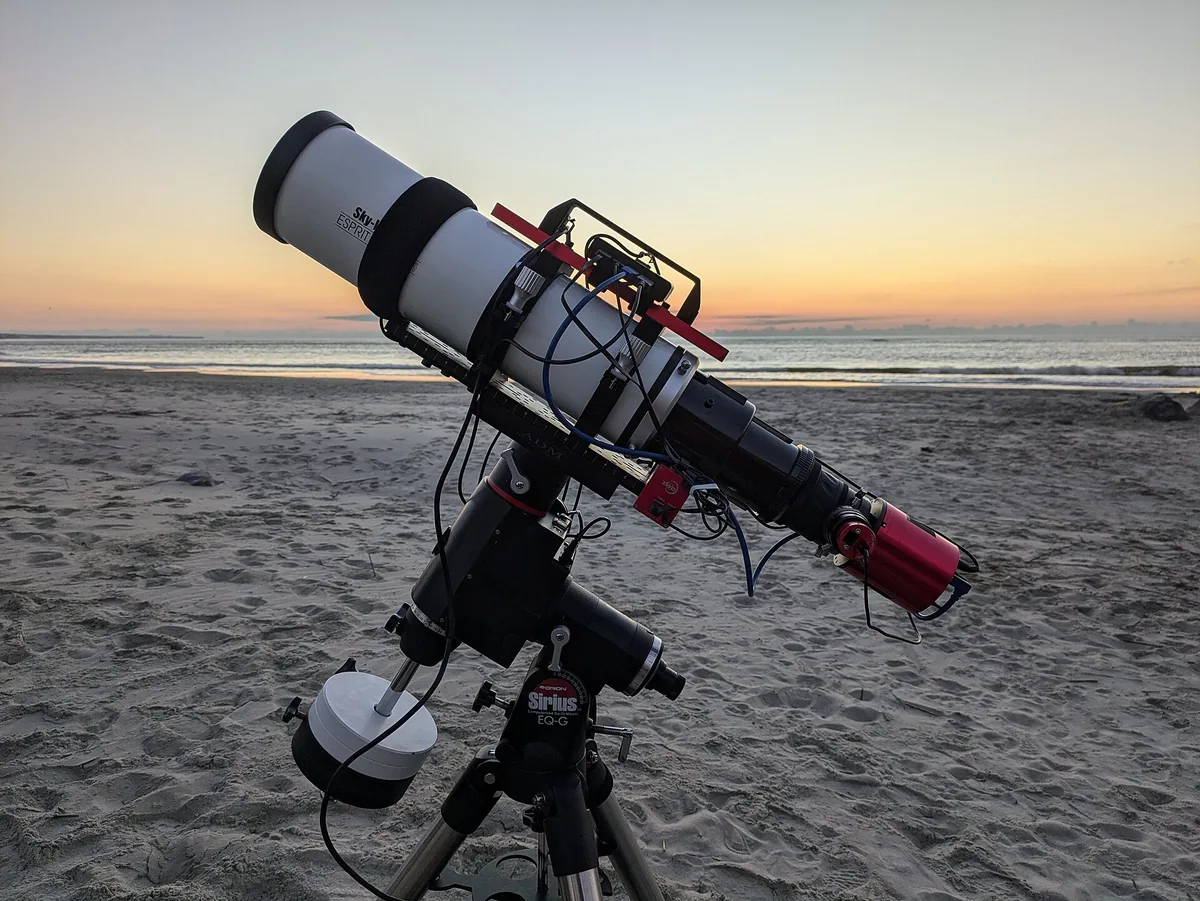
Most trackers, including the Sky-Watcher Star Adventurer GTi and iOptron SkyGuider Pro, plus mounts such as the HEQ5 Pro and EQ6-R Pro, include an illuminated polar scope: a small telescope through the RA axis with a reticle that shows where Polaris should sit relative to the true pole.
Step-by-step
- Calibrate the reticle orientation (once). The reticle’s “12 o’clock” mark must point straight up when you look through the polar scope. Many mounts let you rotate the reticle or RA axis to do this; check your manual. On a tracker, this is usually set by rotating the RA axis until the reticle’s 0 or 12 marking is at the top.
- Find Polaris’s current position. Use the mount maker’s app (for example the SynScan app for Sky-Watcher mounts) or a polar scope app. It shows Polaris as a position on a clock face, which changes through the night and year.
- Turn on the reticle illumination and look through the polar scope. Polaris is the brightest star in a fairly empty field.
- Adjust altitude (up and down bolts) and azimuth (side-to-side bolts) until Polaris sits on the reticle circle at the indicated clock position. Never use the tripod legs for this; use only the mount’s adjusters.
- Tighten the locks gently and re-check. Tightening often nudges the alignment.
With care, a calibrated polar scope typically gets you within a few arcminutes, which is plenty for lenses up to roughly 135–200mm on a tracker.
Tips specific to star trackers
- Short focal lengths are forgiving. With a 24–50mm lens, even rough alignment works for one-minute exposures.
- Use a ball head and counterweight. A sturdy ball head lets you frame without disturbing the RA axis, and a counterweight bar improves balance with longer lenses.
- Balance slightly east-heavy. A tiny imbalance keeps the gears engaged against the load, which reduces backlash and erratic tracking.
Method 2: Plate-solving polar alignment (EQ mounts with a camera)
Plate solving measures exactly where the camera is pointing by matching stars against a catalog. Polar alignment tools rotate the RA axis, solve two or three images, and calculate where the mount’s axis points compared with the true pole. They then guide you through the altitude and azimuth adjustments in real time. This is the most accurate and repeatable method for most people.
SharpCap Pro polar alignment
SharpCap’s routine looks at the area around the pole through your guide scope or a short main telescope. According to SharpCap’s documentation, it works best with a field of view of roughly 1–2.5°, needs at least about 15 visible stars, and expects the mount to start within about 5° of the pole.
- Point the mount at the pole (the “home” position) and start the Polar Alignment tool.
- Let it solve the first image.
- Rotate the RA axis about 90° and let it solve again.
- Follow the on-screen arrow, adjusting altitude and azimuth until the error reads “excellent.”
You can measure your alignment error without a license, but the guided adjustment stage needs SharpCap Pro.
N.I.N.A. Three Point Polar Alignment (TPPA)
N.I.N.A. is free capture software for Windows, and its Three Point Polar Alignment plugin is a favorite for observers without a clear view of Polaris. It takes and plate solves three images while moving only along the RA axis, then calculates the error of the mount’s axis. You can start almost anywhere above the horizon; the plugin’s documentation recommends staying at least about 15° high and avoiding the meridian, the zenith and due east or west.
- Install the Three Point Polar Alignment plugin from N.I.N.A.’s plugin manager.
- Slew to a starting point with clear sky.
- Run the routine; it captures and solves three points as the RA axis rotates.
- Adjust altitude and azimuth while it re-solves continuously and shows the remaining error.
ASIAIR all-sky polar alignment
The ZWO ASIAIR includes its own polar alignment tool that plate solves through your main camera or guide camera and walks you through the adjustments from the app. It is one of the reasons ASIAIR is popular with beginners moving to a guided rig.
Electronic polar scopes
Dedicated polar alignment cameras like the iOptron iPolar and QHY PoleMaster mount on the RA axis and use their own software to show the pole and guide adjustments. They are handy when you do not want to use the imaging train for alignment.
Method 3: Drift alignment
Drift alignment is the classic method that needs no plate solving, only a camera or reticle eyepiece and patience. It is accurate, but slow.
- Azimuth: Point at a star near the meridian and near the celestial equator (declination near 0°). Track for several minutes and watch the star’s drift in declination. Adjust azimuth until drift stops.
- Altitude: Point at a star low in the east or west, near the celestial equator. Watch the declination drift and adjust altitude until it stops.
- Repeat both steps, since each adjustment affects the other a little.
PHD2, the free autoguiding program, includes Drift Alignment, Static Polar Alignment and Polar Drift Alignment tools that make this much faster by plotting the drift for you.
How accurate does polar alignment need to be?
It depends on focal length, exposure length and whether you guide.
| Setup | Practical alignment target | Notes |
|---|---|---|
| Tracker, 14–50mm lens, unguided | Within roughly 10–15 arcminutes | A careful polar scope alignment is plenty |
| Tracker, 85–200mm lens, unguided | Within a few arcminutes | Keep subs short; re-check balance |
| EQ mount, 250–600mm refractor, guided | About 5 arcminutes or better | Guiding handles small drift; reduces field rotation |
| EQ mount, 800mm+ focal length, guided | About 1–2 arcminutes | Long focal lengths magnify every error |
These are working guidelines rather than hard limits. Guiding can rescue a lot, but better alignment means smaller guide corrections and less field rotation over a long night.
Common polar alignment problems
- “Polaris is blocked by a house or tree.” Use N.I.N.A.’s TPPA or drift alignment, both of which work away from the pole.
- Alignment changes after tightening. Tighten locks in small, alternating steps, and re-measure after.
- The tripod sinks or shifts. Frozen ground can thaw under the legs during the night, and soft grass compresses. Use pads or a pier.
- The polar scope reticle is off-center. Polar scopes can be miscollimated; plate-solving methods avoid that problem entirely.
- Stars still trail. Polar alignment is only one cause. Balance, periodic error, wind and cable drag can all produce elongated stars. See our troubleshooting guide for a full checklist.
Quick polar alignment checklist
- Tripod spread, firm and level
- Mount facing north, latitude set
- Camera, scope and counterweights loaded and balanced
- Polar scope, plate-solving tool or drift method run
- Locks tightened and alignment re-checked
- Test exposure checked at 100% in the corners
If you are building your first tracked rig, our beginner’s guide covers what to buy, and our camera comparison helps you choose what goes on the mount.
Frequently asked questions
Only roughly. Polaris is currently about two-thirds of a degree from the north celestial pole, so pointing directly at it leaves significant error. Use a polar scope reticle that offsets Polaris correctly, or a plate-solving routine.
Use a method that works away from the pole, such as N.I.N.A.'s Three Point Polar Alignment plugin, ASIAIR's polar alignment tool, or classic drift alignment. PHD2's drift tools can also help.
It is not strictly required for accuracy, but leveling keeps the altitude and azimuth adjustments from interacting and improves GoTo alignment, so it is worth doing.
For wide lenses on a star tracker, within 10–15 arcminutes works. For guided telescope imaging, aim for about 5 arcminutes or better, and for focal lengths over roughly 800mm, try for 1–2 arcminutes.
SharpCap can measure polar alignment error without a license, but the guided adjustment stage requires SharpCap Pro, according to SharpCap's documentation.
After loading and balancing, when possible. Adding weight after alignment can shift the mount slightly. If your payload blocks the polar scope, align, add the payload carefully, then re-check.