
Quick answer: For Milky Way photos, use a wide lens (14-24mm) at its widest or nearly widest aperture (f/1.4-f/2.8), ISO 1600-6400, and the longest shutter speed that keeps stars sharp, which the NPF rule gives you (typically 8-20 seconds). Shoot RAW, focus manually on a bright star in magnified live view, set white balance near 4000K, and go out on a moonless night when the galactic core is above a dark southern horizon.
As an Amazon Associate, Midwest Astronomy earns from qualifying purchases.
The Milky Way is the shot most people start with, and it is also where many settle for soft stars and muddy color. The difference between an average and a great Milky Way photo is rarely the camera. It is exposure discipline, critical focus, a dark horizon in the right direction, and a little planning. This guide covers all four, then shows how stacking and a star tracker push the same gear much further.
The settings at a glance
| Setting | Starting value | Why |
|---|---|---|
| Mode | Manual (M), manual focus | Autofocus and auto-exposure fail in the dark |
| Focal length | 14-24mm (full frame) or 10-16mm (APS-C) | Wide field, longer untracked exposures |
| Aperture | Widest, or 1/3-1 stop closed if corners show coma | Maximum light per second |
| Shutter speed | From the NPF rule, usually 8-20 s | Longest exposure before stars trail |
| ISO | 1600-6400 (lower on ISO-invariant sensors) | Lifts the signal above read noise |
| White balance | 3800-4200K | Neutral sky; fully adjustable in RAW anyway |
| File format | RAW | Needed for stacking and color correction |
| Noise reduction | Long-exposure NR off when stacking | Avoids doubling every exposure |
| Stabilization | Off on a tripod | Prevents drift and micro-blur |
| Drive | 2-second delay, remote, or intervalometer | No shake from pressing the shutter |
These are starting values. The rest of this guide explains how to choose each one for your specific camera and lens.
Exposure time: use the NPF rule, not the 500 rule
The Earth turns, so on a fixed tripod every star drifts across the sensor. Expose too long and pinpoint stars become short streaks.
The old 500 rule says the longest exposure in seconds is 500 divided by the full-frame-equivalent focal length. It was devised for film and low-resolution sensors. On a modern 24-60 megapixel camera it produces visibly trailed stars when you view at 100%.
The NPF rule, developed by Frédéric Michaud of the Société Astronomique du Havre and built into PhotoPills, accounts for pixel size and aperture as well as focal length. The simplified version is:
Maximum exposure (s) = (35 × f-number + 30 × pixel pitch in µm) ÷ focal length in mm
Use the lens’s real focal length, not the crop-equivalent. Pixel pitch is the sensor width in millimeters divided by the number of horizontal pixels, times 1,000.
| Camera and lens | 500 rule | NPF rule (simplified) |
|---|---|---|
| 24 MP full frame (6.0 µm), 14mm at f/2.8 | 36 s | 20 s |
| 45 MP full frame (4.4 µm), 20mm at f/1.8 | 25 s | 10 s |
| 24 MP APS-C (3.9 µm), 16mm at f/2.8 | 21 s | 13 s |
The gap is large, and it grows with resolution. If you accept slightly elongated stars for a web-sized image, you can stretch the NPF value a little. The full NPF formula also includes declination: stars near the celestial pole move more slowly, so a frame aimed north can use longer exposures than one aimed at the core near declination -29°.
Aperture and ISO
Aperture is the strongest lever you have. Going from f/2.8 to f/1.8 collects about 2.4 times more light in the same exposure. The catch is that many fast wide lenses show coma (stars in the corners that look like tiny bird wings) and vignetting wide open. Shoot a test frame and look at the corners. If they are ugly, close down by 1/3 to 1 stop and accept a higher ISO.
ISO does not add light; it amplifies the signal you collected. On most modern sensors, raising ISO beyond about 1600-3200 mainly reduces read noise in the shadows. Many recent cameras are close to “ISO-invariant,” meaning an image shot at ISO 800 and brightened later looks almost the same as one shot at ISO 6400, but with more highlight headroom. A practical approach:
- Older or non-invariant sensors: ISO 3200-6400.
- Modern ISO-invariant sensors: ISO 800-3200, then brighten in processing.
- Check the histogram: the sky peak should sit clearly off the left edge, roughly a quarter to a third of the way across.
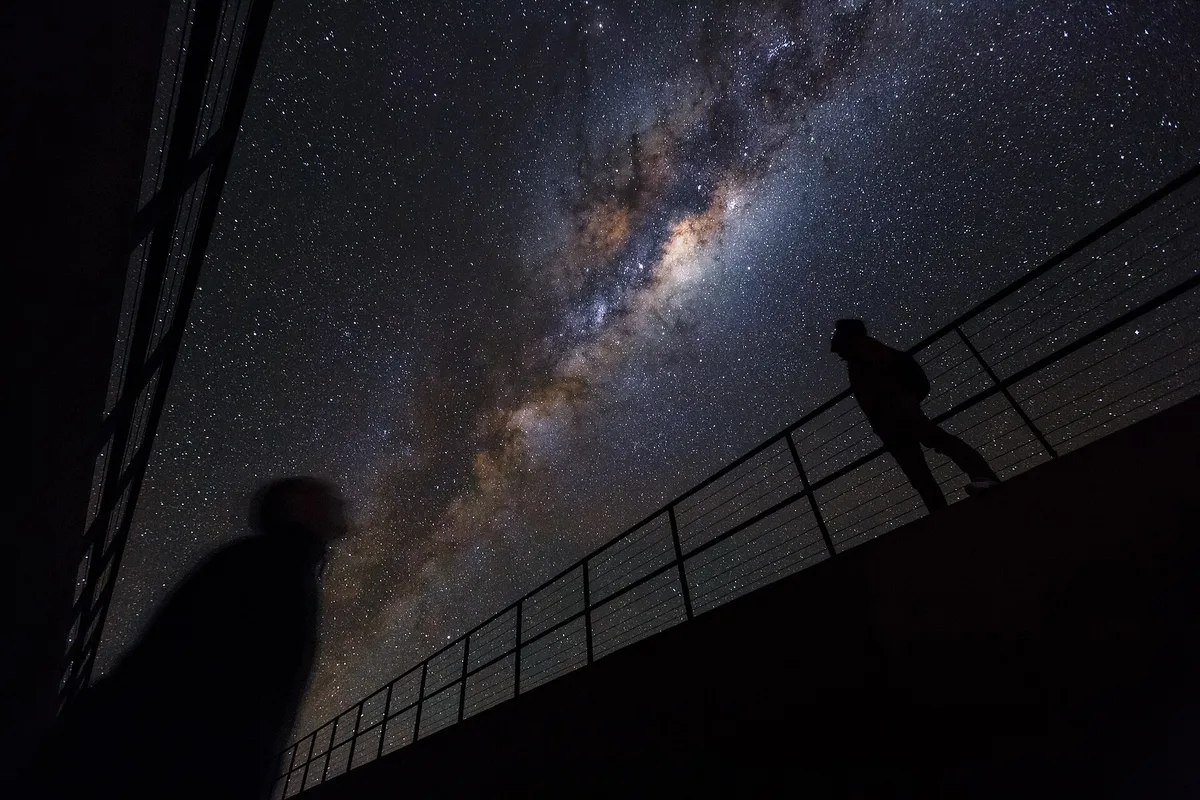
Focus: the step that ruins most first attempts
Autofocus will not lock on stars, and the infinity mark on many lenses is not true infinity (lenses are designed to focus slightly past it to allow for temperature changes).
- Switch the lens and camera to manual focus.
- Point at the brightest star or planet you can see, or a distant light on the horizon.
- Turn on live view, set ISO to its maximum temporarily, and magnify 10x on the star.
- Turn the focus ring slowly until the star is the smallest, tightest point. Go slightly past, then come back.
- Tape the focus ring with gaffer tape so it cannot drift.
- Take a test exposure and zoom to 100% on the camera’s screen to confirm.
If you are using a longer lens, a Bahtinov mask sized for the lens takes the guesswork out of focusing. Re-check focus after big temperature drops, which is common on clear Midwestern nights.
When and where the core is visible
The brightest part of the Milky Way, the galactic center in Sagittarius and Scorpius, sits at about declination -29°. From the northern US it never climbs high, and how high it gets depends on your latitude:
| Latitude (examples) | Approximate maximum altitude of the galactic center |
|---|---|
| 37°N (southern Missouri, Kansas-Oklahoma border) | About 24° |
| 42°N (Chicago area, Sioux City) | About 19° |
| 49°N (US-Canada border) | About 12° |
That low altitude is why a clear, dark southern horizon matters more than anything else in the upper Midwest. A city light dome to the south will wash out the core, while one to the north barely matters for this target.
Season: In the northern US the core starts appearing low in the southeast before dawn in late winter and early spring, is well placed around midnight in June and July, and is low in the southwest after dusk by September. By late October it sets too early to photograph well. Outside that window you can still photograph the fainter winter Milky Way through Orion, Taurus, Auriga and Cassiopeia.
Moon: Plan around the new moon. A bright Moon brightens the sky as much as moderate light pollution. A thin crescent that sets early is fine.
Darkness: Shoot after astronomical twilight ends (the Sun 18° below the horizon). In late June at northern-tier latitudes, true darkness is short, so check twilight times for your location.
Weather and haze: Summer humidity and haze reduce contrast and spread light domes. The clearest, most transparent nights often come right after a cold front passes. Dew forms quickly on summer nights, so a USB lens heater strap is worth packing.
Planning tools
- Light pollution maps such as lightpollutionmap.info show where to drive for darker skies.
- Stellarium (free, desktop and mobile) shows where the core will be at any time and date.
- PhotoPills and PlanIt! overlay the Milky Way’s position on your actual scene in augmented reality and compute NPF exposure times.
- Weather tools such as Clear Sky Chart and Astrospheric forecast cloud cover, transparency and seeing.
Composition
A Milky Way photo is a landscape photo first. A strong foreground (a tree, barn, rock formation, water reflection or silhouette) gives the sky scale.
- Vertical frames suit the core rising in spring; horizontal frames and panoramas suit the arch in mid-summer.
- Keep the horizon low in the frame unless the foreground is the subject.
- Watch for light pollution glows at the horizon edge and compose to keep them out of frame or minimal.
- Respect private property and posted hours. Many good foregrounds are on land you need permission to enter.
Gear that actually matters
You can start with any interchangeable-lens camera that has manual control and RAW output. What makes the biggest difference is the lens and stability.
- Lens: a fast, wide prime is the best upgrade. Popular choices include the Rokinon/Samyang 14mm f/2.8 (manual focus, a long-time entry pick), the Sigma 14mm f/1.4 DG DN Art and the Sigma 20mm f/1.4 DG DN Art for mirrorless mounts. Check that a lens is made for your mount before buying.
- Tripod: a sturdy tripod that does not shake in a light breeze. Hang your bag from the center hook.
- Remote or intervalometer: a wired intervalometer or in-camera interval timer for sequences.
- Red headlamp: a red-light headlamp preserves your night vision.
- Power: spare batteries, kept warm in a pocket. Cold drains them quickly in spring and fall.
For a full breakdown of cameras by budget, see our astrophotography for beginners guide and the dedicated astro camera vs DSLR comparison.
Take it further: stacking
A single 15-second frame is noisy. Shooting 10-30 frames in a row and averaging them reduces noise by roughly the square root of the number of frames, so 16 frames give about four times less noise.
The complication is that the sky moves between frames while the foreground does not. Stacking software for nightscapes handles this by aligning the sky separately from a masked foreground:
- Sequator (free, Windows) aligns stars, freezes the ground, and can reduce light pollution.
- Starry Landscape Stacker (paid, macOS) does the same job on a Mac.
- Siril (free, Windows, macOS and Linux) is excellent for the sky alone; blend the foreground separately in an editor.
Also shoot 15-30 dark frames (same settings, lens cap on, same temperature) to remove hot pixels. Our stacking software comparison explains calibration frames and the trade-offs between the main programs.
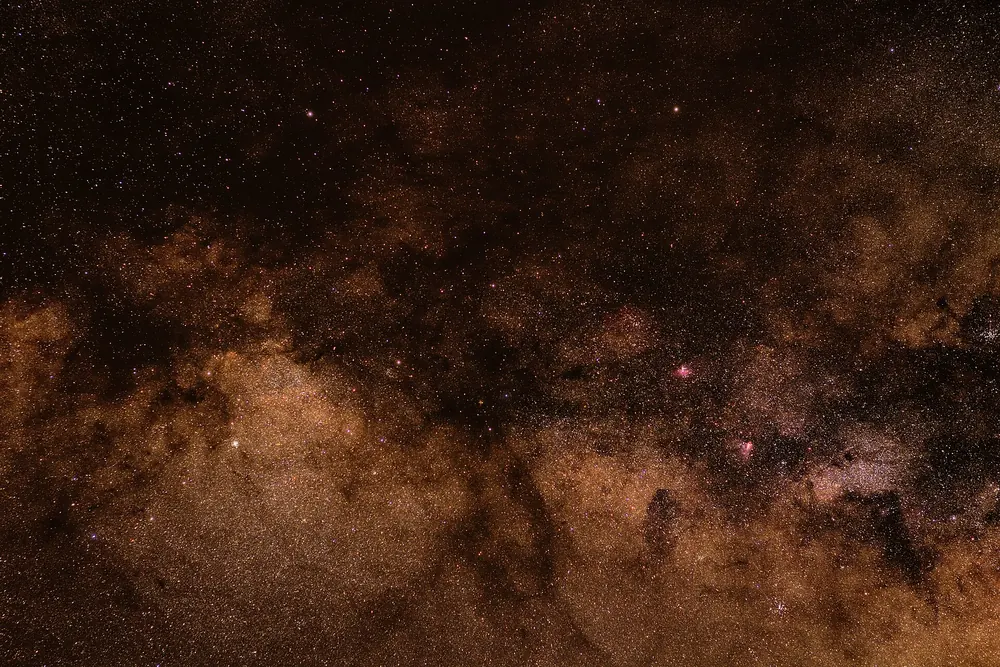
Take it further: a star tracker
A star tracker is a small motorized mount that rotates the camera with the sky. Once it is polar aligned, you can expose for one to four minutes at wide focal lengths, drop to a lower ISO, close the lens down to its sharpest aperture, and still get pinpoint stars. Popular models include the Sky-Watcher Star Adventurer GTi and the iOptron SkyGuider Pro.
The trade-off is that the foreground blurs during tracked exposures. The standard technique is to shoot tracked sky frames, then turn tracking off and shoot the foreground (often during blue hour, or with a longer exposure at lower ISO), and blend the two. Our guide on how to polar align a star tracker covers the alignment step.
A simple field workflow
- Check the forecast, Moon phase and the core’s position in a planning app.
- Arrive before dark to scout the composition and level the tripod.
- Set manual mode, RAW, white balance about 4000K, stabilization off and long-exposure NR off.
- Compute your exposure with the NPF rule.
- Focus on a bright star at 10x live view and tape the ring.
- Take a test frame, check corners for coma and the histogram for exposure, then adjust.
- Shoot 10-30 sky frames in a row, then 15-30 darks at the same settings.
- Shoot a foreground frame or two with a longer exposure for a cleaner ground.
- Stack the sky, blend the foreground, then adjust color and contrast.
Common mistakes
- Soft stars everywhere: focus is off. Refocus at 10x live view and tape the ring.
- Short streaks: exposure too long for your focal length and pixel size. Use the NPF value.
- Brown or orange sky: light pollution plus auto white balance. Shoot RAW and set white balance around 4000K, then neutralize the background in processing.
- Fogged lens after an hour: dew. Use a lens heater from the start of the session.
- Noisy shadows: underexposed. Open the aperture, raise ISO, or stack more frames.
Problems with tracked frames, gradients or star shapes are covered in our astrophotography troubleshooting guide.
Frequently asked questions
Start with manual mode, a 14-24mm lens at f/1.4-f/2.8, ISO 1600-6400, an exposure from the NPF rule (usually 8-20 seconds), RAW files, manual focus on a bright star, and white balance near 4000K. Turn off image stabilization on a tripod.
Not on modern high-resolution cameras. The 500 rule ignores pixel size and aperture, so it often allows exposures long enough to trail stars at 100% view. The NPF rule, (35 × f-number + 30 × pixel pitch) ÷ focal length, gives shorter, more reliable exposure times.
The galactic core is visible from roughly March to October. It rises before dawn in early spring, is best placed around midnight in June and July, and sets soon after dusk by September and October. Shoot on moonless nights after astronomical twilight ends.
Light pollution from sodium and LED lights plus auto white balance usually cause this. Shoot RAW, set white balance near 4000K, face away from towns, and neutralize the sky background during processing. A darker site helps more than any filter.
No. A tripod and a fast wide lens produce good Milky Way photos, especially if you stack several frames. A star tracker allows longer exposures, lower ISO and sharper apertures, which gives cleaner images, but it adds polar alignment and foreground blending to the workflow.
Ten to 30 frames is a practical range. Noise drops with the square root of the number of frames, so 16 frames give about four times less noise than one. Add 15-30 dark frames at the same settings to remove hot pixels.